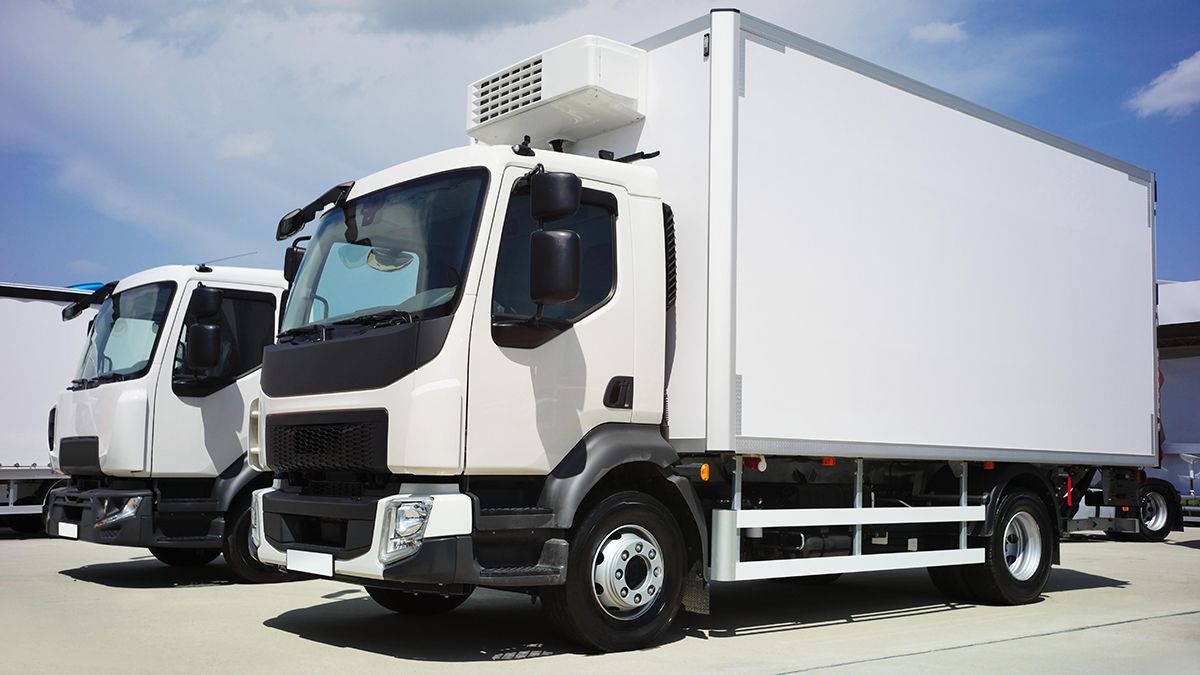
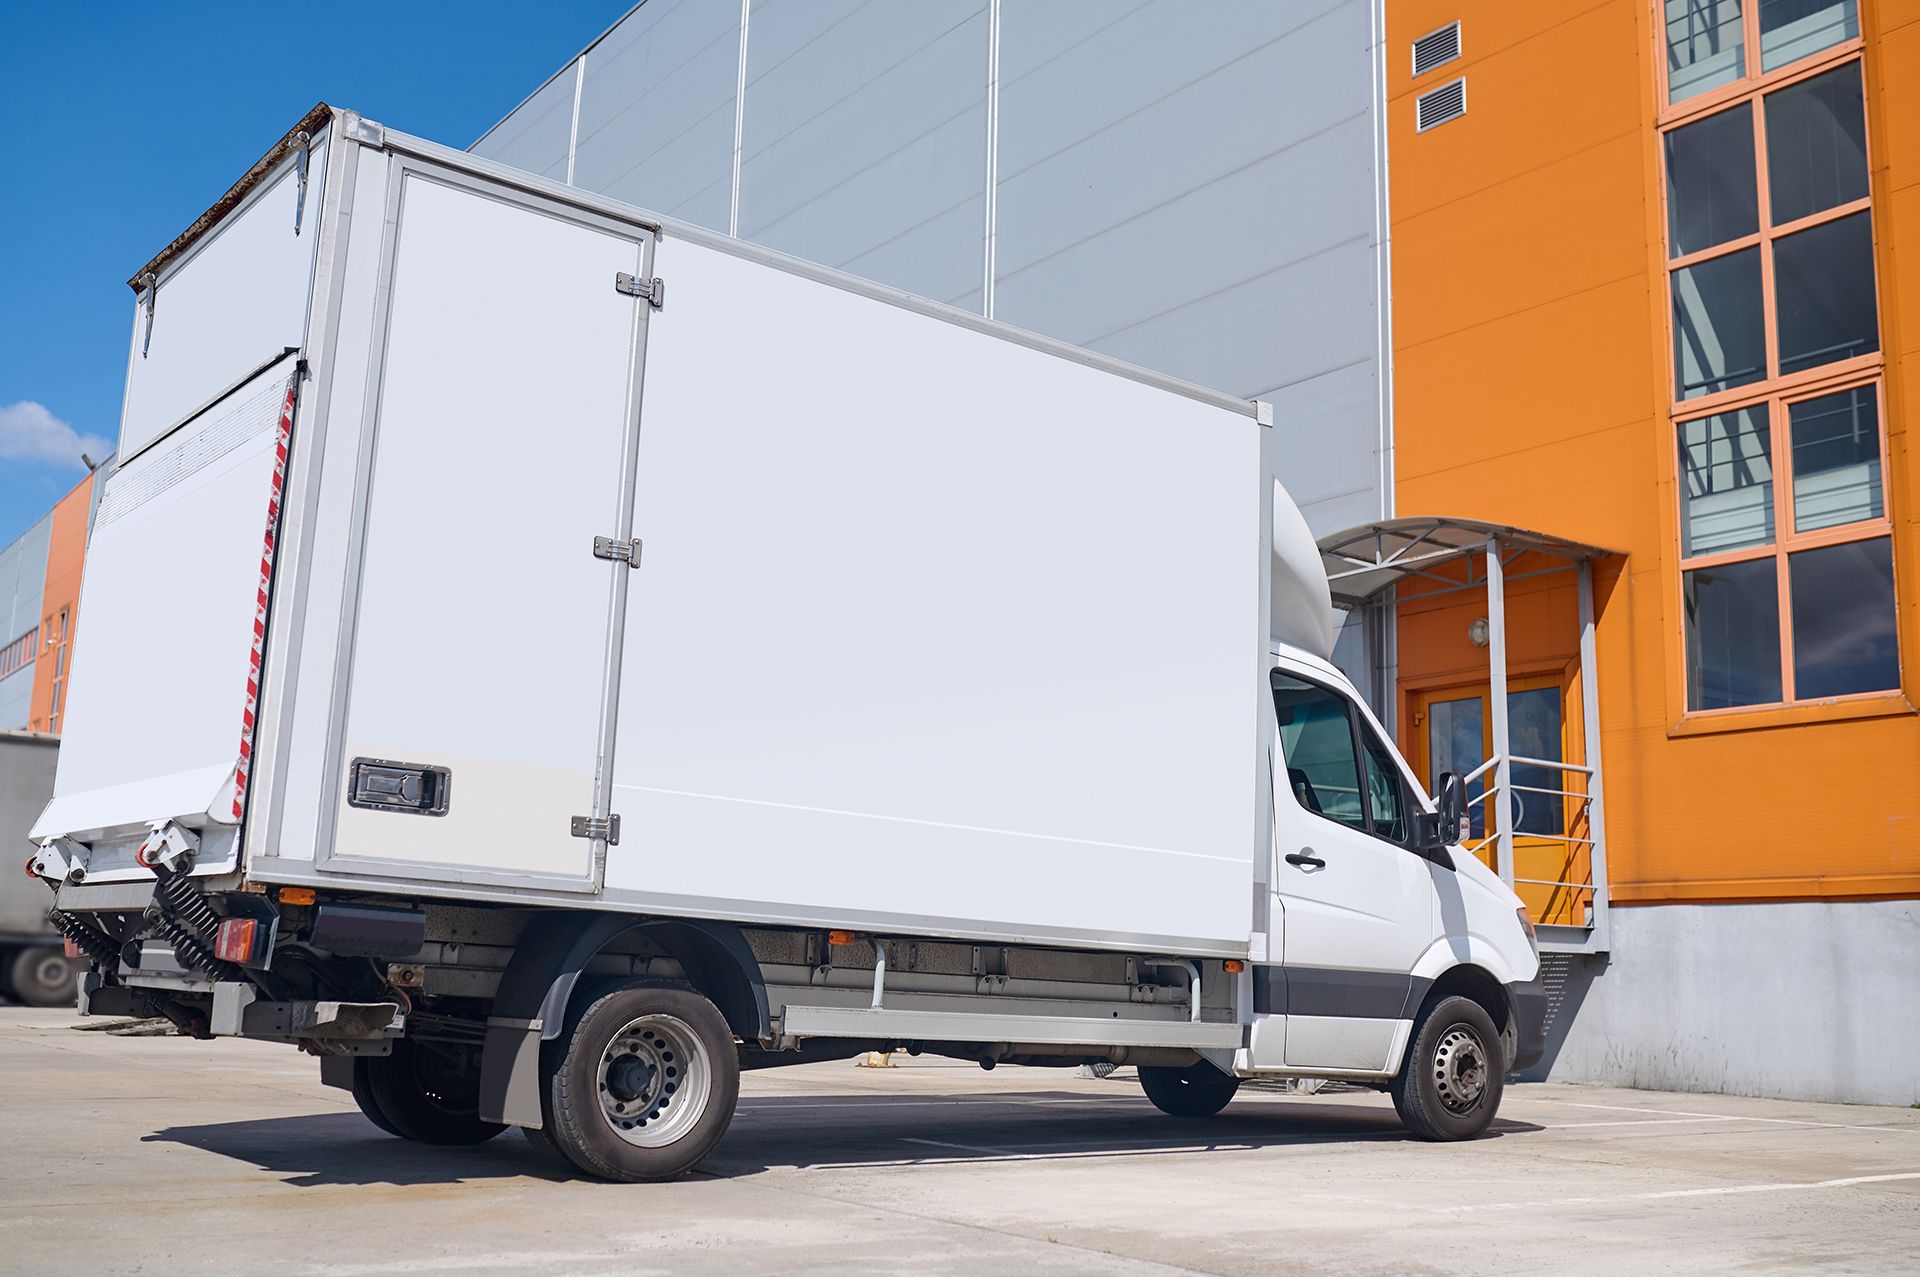
Van Refrigeration Installation: What to Expect From Start to Finish
Tieman Group • May 2, 2026
Installing refrigeration in a van does not have to be a drawn-out or stressful process. For most businesses, the biggest concern is downtime, and with the right system and installer, that window is smaller than you might think.
Modern van refrigeration installation is grounded in precision manufacturing and engineered thermal performance. When done properly, systems maintain stable temperatures across full delivery routes regardless of weather or seasonal conditions.
In this guide, we’ll walk you through every stage so you know exactly what to expect, from the first planning conversation to the moment your vehicle is back on the road.
What Does the Full Van Refrigeration Installation Process Look Like?
Van refrigeration installation follows five sequential stages: (1) planning and preparation, (2) insulation and interior lining, (3) refrigeration unit installation, (4) system testing, and (5) final handover.
Each stage depends on the one before it. Rushing any part of the sequence creates performance problems that are harder and more expensive to fix later. Precision-cut
panel systems designed to match specific van models significantly reduce assembly time and eliminate the need for structural modifications on-site, which is what keeps most builds within a few business days.
How Do You Plan and Prepare for a Refrigerated Van Installation?
Planning determines how well your system performs once it is installed. The decisions made at this stage directly shape every outcome that follows.
A thorough planning phase covers:
- Identifying exactly what you are transporting, whether dairy products like milk, cheese, and yogurt, beverages, prepared meals, pharmaceuticals, or other perishables
- Defining the temperature range the system needs to hold consistently across your full route
- Assessing your vehicle's size, layout, age, and current condition
- Determining the right refrigeration unit size and airflow setup for your cargo volume
- Choosing the most suitable kit format: an insulated panel kit for retrofitting your existing van, a portable slip-in body that can move between fleet vehicles as demand shifts, or a full refrigerated body assembly with integrated cooling already built in
An undersized unit paired with poorly configured airflow will struggle regardless of how well everything else is installed. Getting these decisions right upfront is what gives the rest of the build something solid to work from.
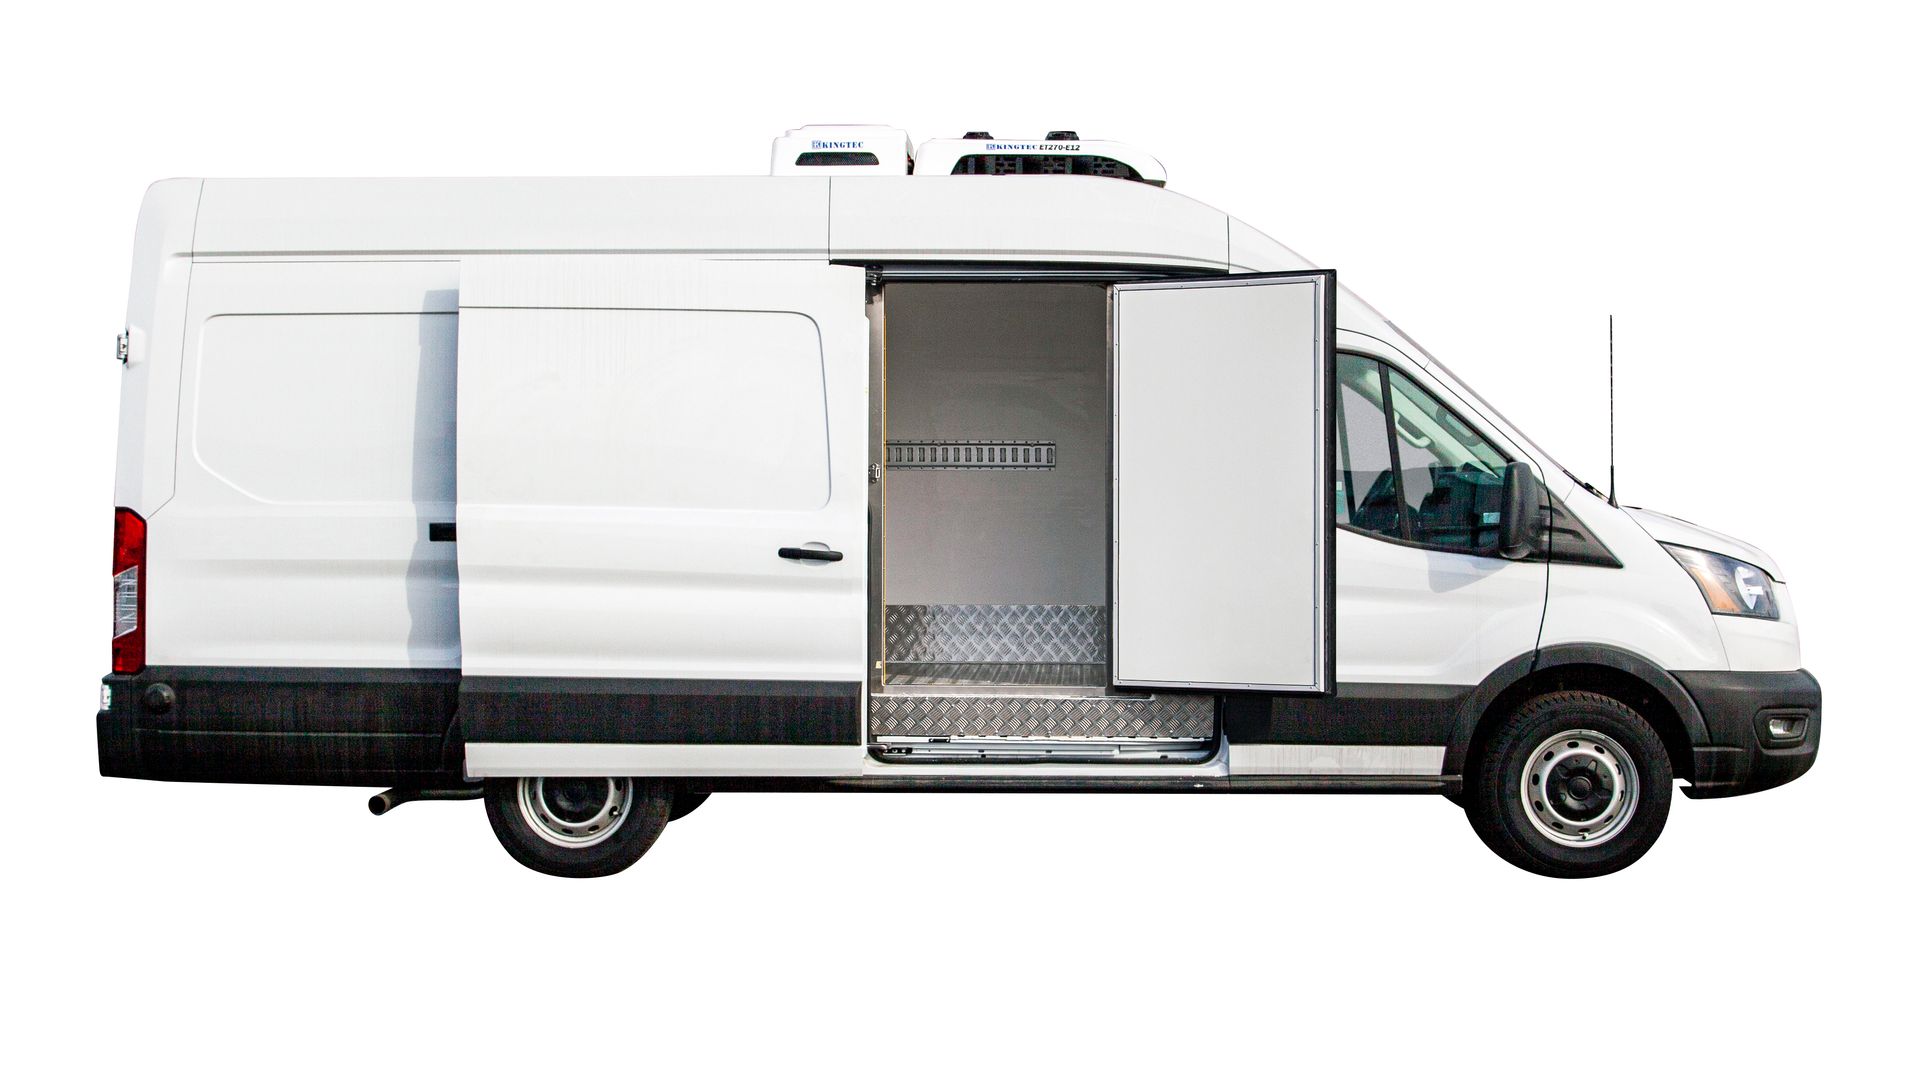
What Happens During Insulation and Interior Lining Installation?
Insulation is fitted to the walls, ceiling, and floor of the cargo area using pre-engineered panels designed to match the van's interior dimensions. Every joint and edge is sealed to eliminate air gaps, since any gap is a point where warm air enters and cool air escapes, reducing efficiency and increasing running costs over time.
Quality engineered panels provide structural integrity without adding unnecessary weight. Keeping mass low preserves your vehicle's payload capacity and supports fuel economy across the working life of the vehicle, which matters considerably for operations running multiple routes per day.
During this stage, installers can also incorporate:
- Non-slip flooring suited to commercial loading and unloading
- Interior lighting for safe access in low-visibility conditions
- Partitioning to separate refrigerated and ambient cargo zones within the same vehicle
How Is the Refrigeration Unit Installed in the Van?
The refrigeration system connects four main components, each positioned in a specific location to form a complete, closed-loop cooling circuit.
- The condenser is mounted externally, typically on the roof or at the front of the cargo box, where it expels heat away from the cargo area
- The evaporator is installed inside the cargo space and circulates cooled air evenly throughout
- The compressor sits in the engine bay and drives the refrigeration cycle
- Refrigerant pipework connects all three, completing the system
For businesses that park overnight or make extended stationary stops, standby power systems can be added at this stage. These allow the refrigeration unit to run from an external power source while the engine is off, keeping cargo at temperature without idling the vehicle.
No pipework or electrical connections are left incomplete before the build moves to the testing phase.
What Testing and Inspection Happens Before the Van Is Ready?
Before handover, every system goes through a structured inspection to confirm it performs as specified under real operating conditions, not just in a controlled workshop environment.
The inspection covers:
- Temperature pull-down performance, confirming how quickly the unit reaches and holds the target range
- Airflow consistency across the full cargo space, identifying any cold spots or uneven distribution
- Insulation integrity across all panel joints and sealed edges
- A full refrigerant leak check across the pipework and connections
- Electrical system checks across all wiring and controls
Any issue found during this phase is corrected before the vehicle is returned. You should walk away with documented performance results and a clear understanding of how the system operates in daily use.
How Long Does Van Refrigeration Installation Take?
Most van refrigeration installations are completed within two to four business days. The actual timeframe depends on the specification, any optional features being added, and the condition of the vehicle when it arrives.
Factors that affect the timeline:
- Precision-cut panel kits reduce on-site fitting time considerably compared to custom-built solutions
- Avoiding structural modifications to the base vehicle keeps the process moving without delays
- Optional additions like partitioning, standby power systems, or specialist flooring extend the build slightly
- Vehicle condition matters: a clean, well-maintained van is faster to work with than one requiring preparation first
Discuss your delivery schedule with your installer before booking. A clear timeline estimate is straightforward to provide once the vehicle and full specification have been confirmed.
What Makes Modern Van Refrigeration Installations More Efficient?
Today's installations are faster, more reliable, and more cost-effective to run than systems built even a few years ago, and the main driver is how components are designed before they reach the workshop.
Panels arrive pre-cut to match the target van model exactly, which removes the measuring, cutting, and on-site adjustment that used to add time to every build. Purpose-built panel kits for popular commercial van models are available for immediate deployment, with new vehicle fitments regularly added as the market evolves. Accurate fitment at this level seals out air gaps that would otherwise undermine insulation performance and push up running costs over the system's life.
Because the process avoids major structural changes to the vehicle, most conversions finish within a few business days, getting your vehicle back into service faster than traditional refrigeration builds.
Additional operational benefits include:
- Smart thermal design that reduces how hard the cooling unit has to work, lowering ongoing refrigeration costs compared to older truck configurations
- Reduced energy consumption that improves monthly operating budgets for businesses running regular distribution routes
- Wiring and control layouts designed for straightforward servicing and fault diagnosis
- Component access that allows future maintenance without requiring full disassembly
What Should You Look for Before Choosing an Installation Provider?
Choose a provider with verifiable experience in commercial refrigeration across different vehicle types and cargo categories. The quality gap between providers matters more in refrigeration than in most other vehicle work, because a poorly installed system creates problems on every single delivery.
Look for a provider that can offer:
- Purpose-built kit options suited to your specific operation, including full refrigerated body assemblies, portable slip-in bodies transferable across your fleet, and insulated panel kits for retrofitting existing vans
- Insulation materials with documented thermal performance ratings, not generic components
- Demonstrated compliance with food safety and cold chain transport standards relevant to your cargo
- Ongoing support for maintenance, repairs, and future system upgrades
Ask to see documentation of their testing process. Request references from similar installations. A provider with a solid track record will have no hesitation providing either. The quality of the installation you choose now determines the reliability of every cold chain delivery your business makes going forward.
How Should You Prepare Your Van Before Installation Day?
Arriving prepared saves time and prevents last-minute complications from extending your vehicle's time in the workshop.
Before handing the vehicle over:
- Clear the entire interior, including any shelving, fittings, or equipment that would need to be worked around
- Confirm the full specification and interior layout with your installer before the day so there are no surprises on arrival
- Plan around the expected installation window and arrange cover for any deliveries that fall within that period
- Ensure the vehicle will be accessible to the installer throughout the build without interruptions
- Confirm the installation site has adequate space and access for the work to proceed safely
The more straightforward it is for your installer to work, the faster your vehicle comes back.
What Should You Expect After Your Refrigerated Van Is Ready?
Your van is ready for temperature-controlled deliveries on the day of handover. There is no run-in period. The system has been fully tested and confirmed operational before the vehicle is returned to you.
From that point, you can expect:
- Consistent temperature performance across every delivery run from the first day of use, keeping dairy products, fresh produce, and other perishables within safe storage ranges throughout the route
- Cold chain integrity maintained regardless of route length or weather conditions outside
- Routine maintenance needs, typically scheduled checks of refrigerant levels, seals, and compressor condition
- A scalable setup, with slip-in body options that can be redistributed across your fleet as seasonal demand changes
For dairy distributors and fresh produce operators, that consistency from the loading point to the final delivery stop is not a feature. It is the standard your customers and your contracts depend on.
Ready to Upgrade Your Van With Professional Refrigeration?
Tieman designs and supplies refrigerated bodies, slip-in bodies, and insulated panel conversion kits built for commercial delivery operations. Our precision-engineered components, fast assembly, and proven thermal performance keep your vehicle out of the workshop and on the road where it earns.
Request a quote to get started with a van refrigeration solution built around your operation.